You??ll never know when tragedy might strike, so it??s best to always be prepared for when you??re in the thick of things. You can get cash for a laptop in the event you need money, create an emergency bag in case of natural disasters, and set emergency contacts in case you get into an accident.
Setting emergency contacts on your Android phone??s lock screen is an especially effective means to protect yourself if you??re incapacitated. It allows bystanders or first responders to quickly notify your loved ones of your condition while you get help. If you aren??t sure how to add emergency contacts on your Android phone, check out this guide to help you maneuver through the menus more easily and maximize your device.
How to Add an Emergency Message and Contacts on Your Android Phone
Properly setting up an emergency message on your lock screen is fairly simple and straightforward, and the method should work on all of the latest Android OS versions.
To begin, unlock your phone, go to Settings, and tap on the ??Security & Location? tab.
You should see a list of different security features. Look for the ??Screen Lock? tab and go to Settings. Afterwards, tap on the ??Lock screen message? option then enter whatever information you may deem necessary. This would be your emergency contacts?? name and mobile. Finally, tap on ??Save? and you??re done. After doing all of this, you should be able to see the message you wrote on your phone??s lock screen the next time to try to unlock it, as will a bystander who can look to your phone if you??re unconscious.
If you want something more subtle, you can set up your ICE (In Case of Emergency) contacts.
To do this, navigate back to the Settings app then look for the ??Users & accounts? tab. There should be an ??Emergency Information? tab where you can input all necessary emergency information.
The ??Emergency Information? tab lets you input your own medical information. It also has a separate section where you can configure your list of emergency contacts. Simply tap on ??Add contact? and select a person from your contacts list.
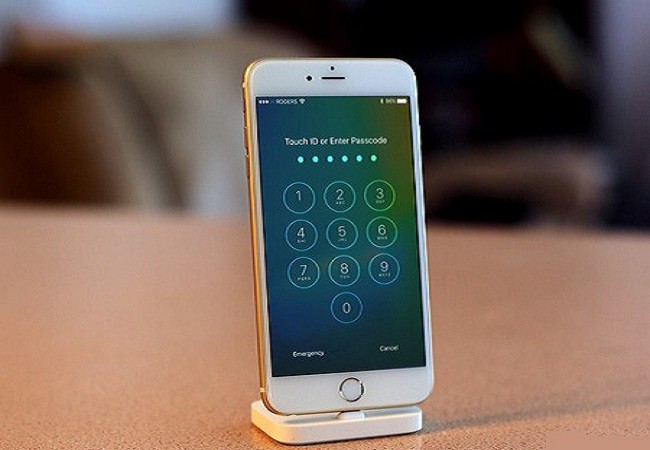
Once you??re finished, you??ll be able to see your emergency contacts when you tap on the ??Emergency call? button on your lock screen.
Who Should You Pick as Your Emergency Contacts?
The people you choose should be the ones you can rely on, as well as ones most capable of coming to help. Consider these factors when choosing your emergency contacts:
?½ They should know any of your past or current medical conditions so that first responders will be aware of any special treatment you??ll need.
?½ Choose someone you can trust, and is available most of the time to make sure that any potential emergency calls don??t go unanswered.
?½ Pick a person who knows you well, like your parents, siblings, significant other, or best friend. These people will most likely be able to coordinate with responders.


